
Start With the Risks on Your Site
Before you choose any sign, walk the site and list the hazards that actually exist. A small workshop in Brits will need different signs to a busy retail store in Pretoria, and a municipal depot in Tshwane may need warning, access control and public information signs in one place.
Look at the daily movement of people, vehicles, stock and equipment. If forklifts cross pedestrian routes, if chemicals are stored nearby, if stairs are slippery in rain, or if a gate opens onto a public pavement, each point needs a clear sign or marking.
- Identify the hazard
- Note who is exposed to it
- Decide what action must be taken
- Confirm whether the sign must face one direction or several
- Check if the message needs symbols, wording or both
Good planning saves you from printing the wrong message and having to replace signs too soon. It also helps your team avoid gaps where a hazard is known but not clearly marked.
Choose the Right Sign Type for the Message
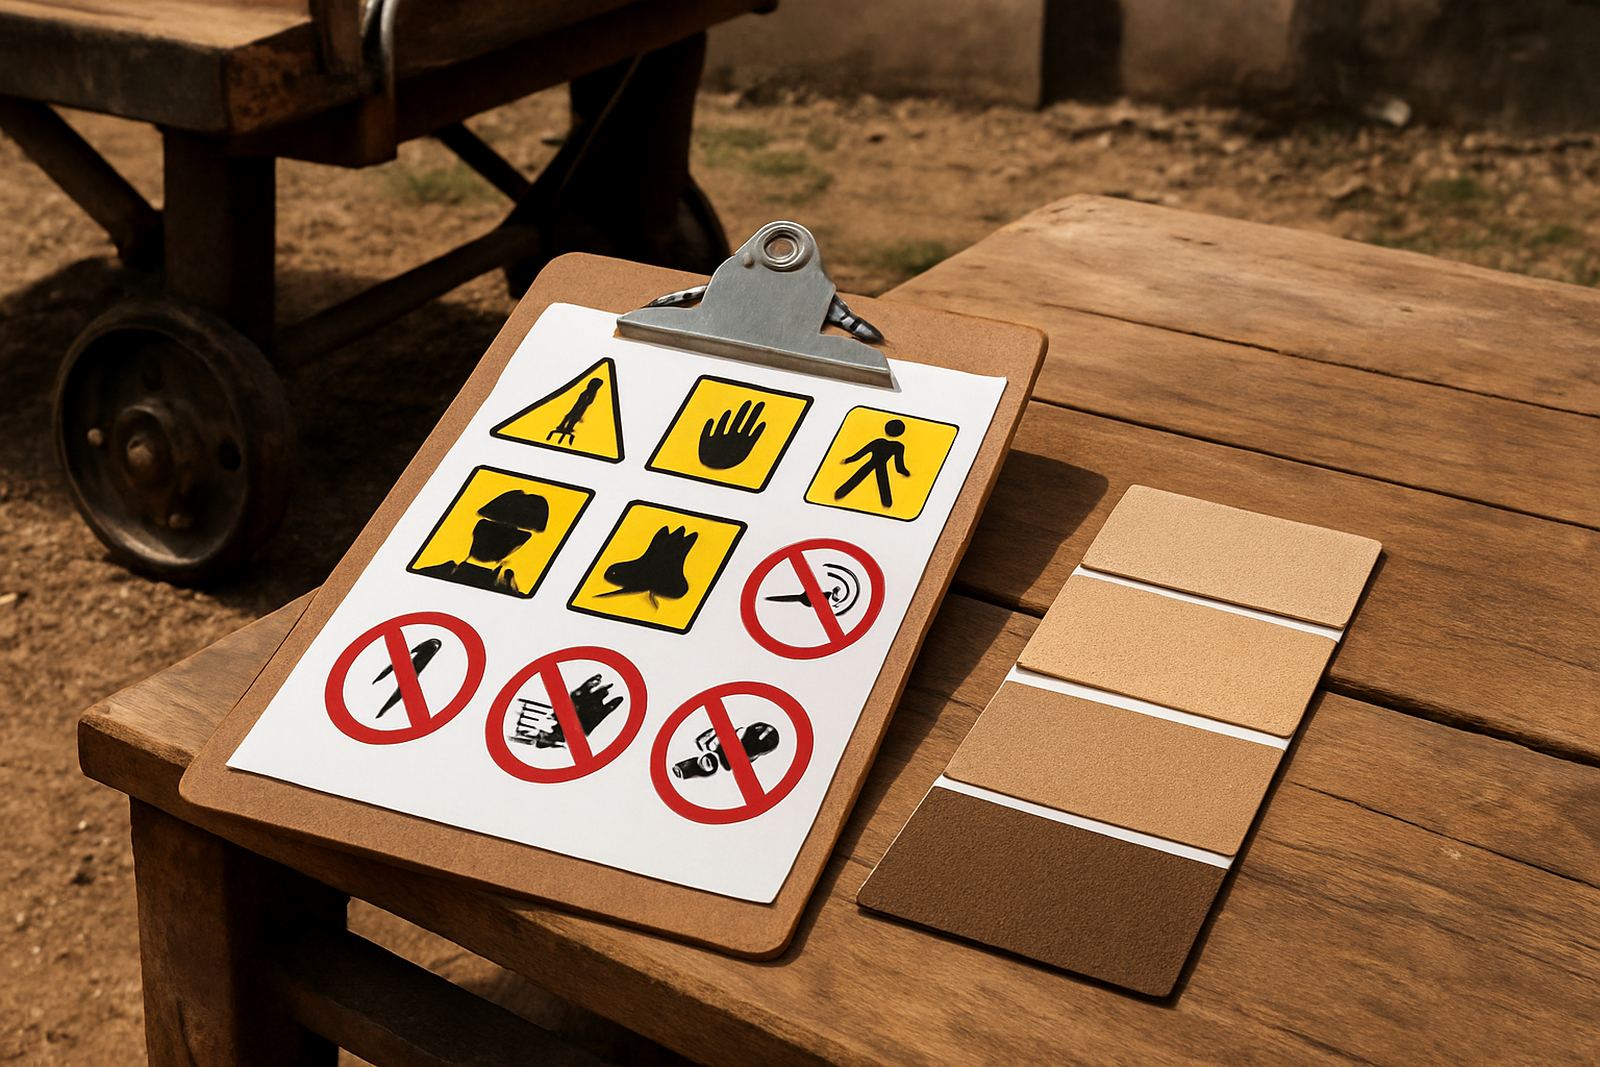
Safety signs are not all the same. A warning sign, a mandatory instruction and an emergency escape sign each do a different job. If the message is about danger, use a shape and colour that makes the risk easy to spot at a glance. If the message is about action, keep the wording short and direct.
For most sites, the best result comes from matching the sign type to the task. A storage yard may need reflective direction signs for night visibility, while a production area may need durable wall-mounted panels near machinery and entrances.
- Warning signs for hazards such as moving parts, chemicals or vehicle movement
- Mandatory signs for PPE, access control and safety procedures
- Prohibition signs for no smoking, no entry or no open flame areas
- Fire and emergency signs for exits, extinguishers and assembly points
- Site information signs for visitor rules, loading bays and reception points
Where staff work under load-shedding or low light, think about reflectivity and placement too. A sign that is correct but hard to see is not doing its job.
Make the Layout Easy to Read in Real Conditions
Signage is read while people are walking, carrying stock, reversing vehicles or looking over their shoulder. That means the layout must be simple enough to understand in seconds. Keep the wording short, use one clear message per sign and avoid crowding the panel with too much text.
Size matters. A sign above eye level, or one placed across a driveway, needs larger lettering than a sign next to a door. In coastal or high-dust environments, finishes should also be chosen for legibility after months of sun, humidity or grime.
- Use strong contrast between background and text
- Keep wording brief and direct
- Use symbols where they help quick understanding
- Choose letter height to suit viewing distance
- Allow for glare, dust and uneven lighting
For multilingual sites, it may help to use a symbol first, then a short supporting message. That is especially useful where contractors, security staff and visitors may not all read the same wording with ease.
Plan Materials for Weather, Wear and Cleaning
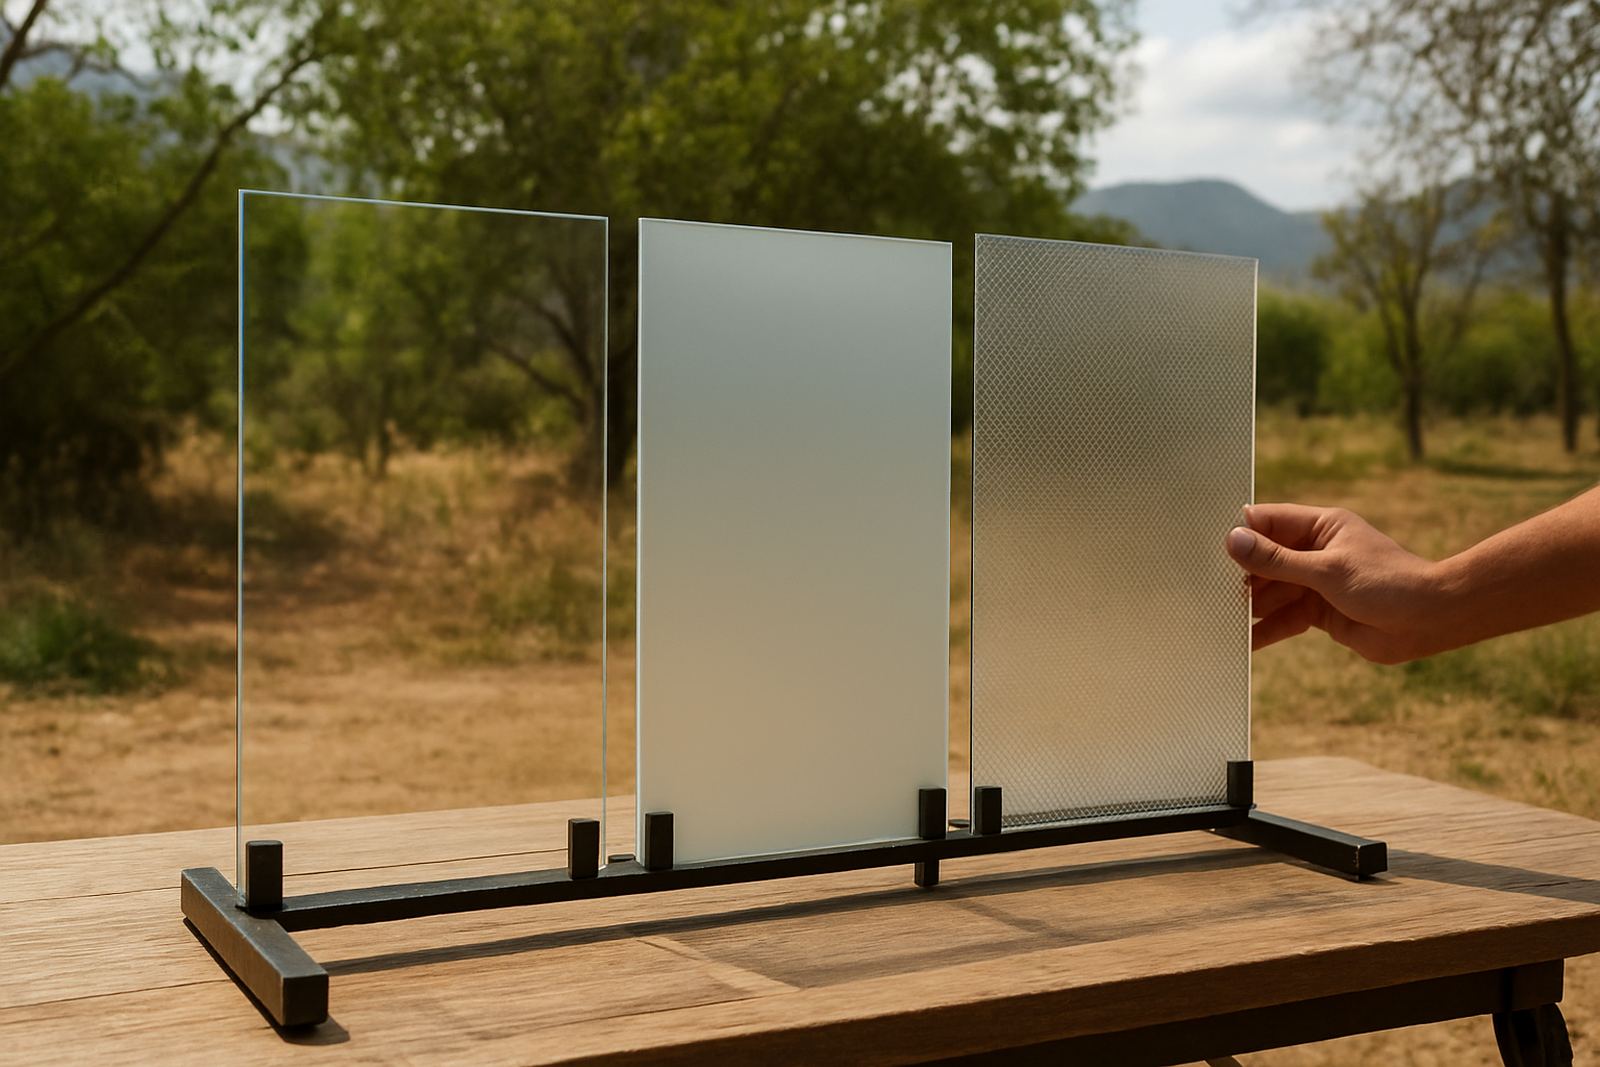
The material you choose should match the site conditions. Indoor signs in a clean office building can be lighter, but outdoor signs on a boundary wall, gate or yard need better weather resistance. Sun exposure in Gauteng can fade weak print, and rain, dust and frequent washing all shorten the life of poor materials.
For a workshop, warehouse or municipal site, think about impact, cleaning chemicals and the chance of knocks from trolleys or equipment. A laminated or protected finish can help where signs are cleaned often or where they sit close to traffic.
- Outdoor areas: weather resistant panels and strong fixings
- High traffic areas: durable substrates and secure mounting
- Temporary campaigns: removable materials for short term use
- Night use: reflective or high visibility finishes where needed
- Coastal areas: materials that cope better with moisture and salt air
A sign that lasts three months in the sun is false economy if the site needs it all year. It is better to specify the right finish from the start and replace less often.
Check Placement Before You Print or Install
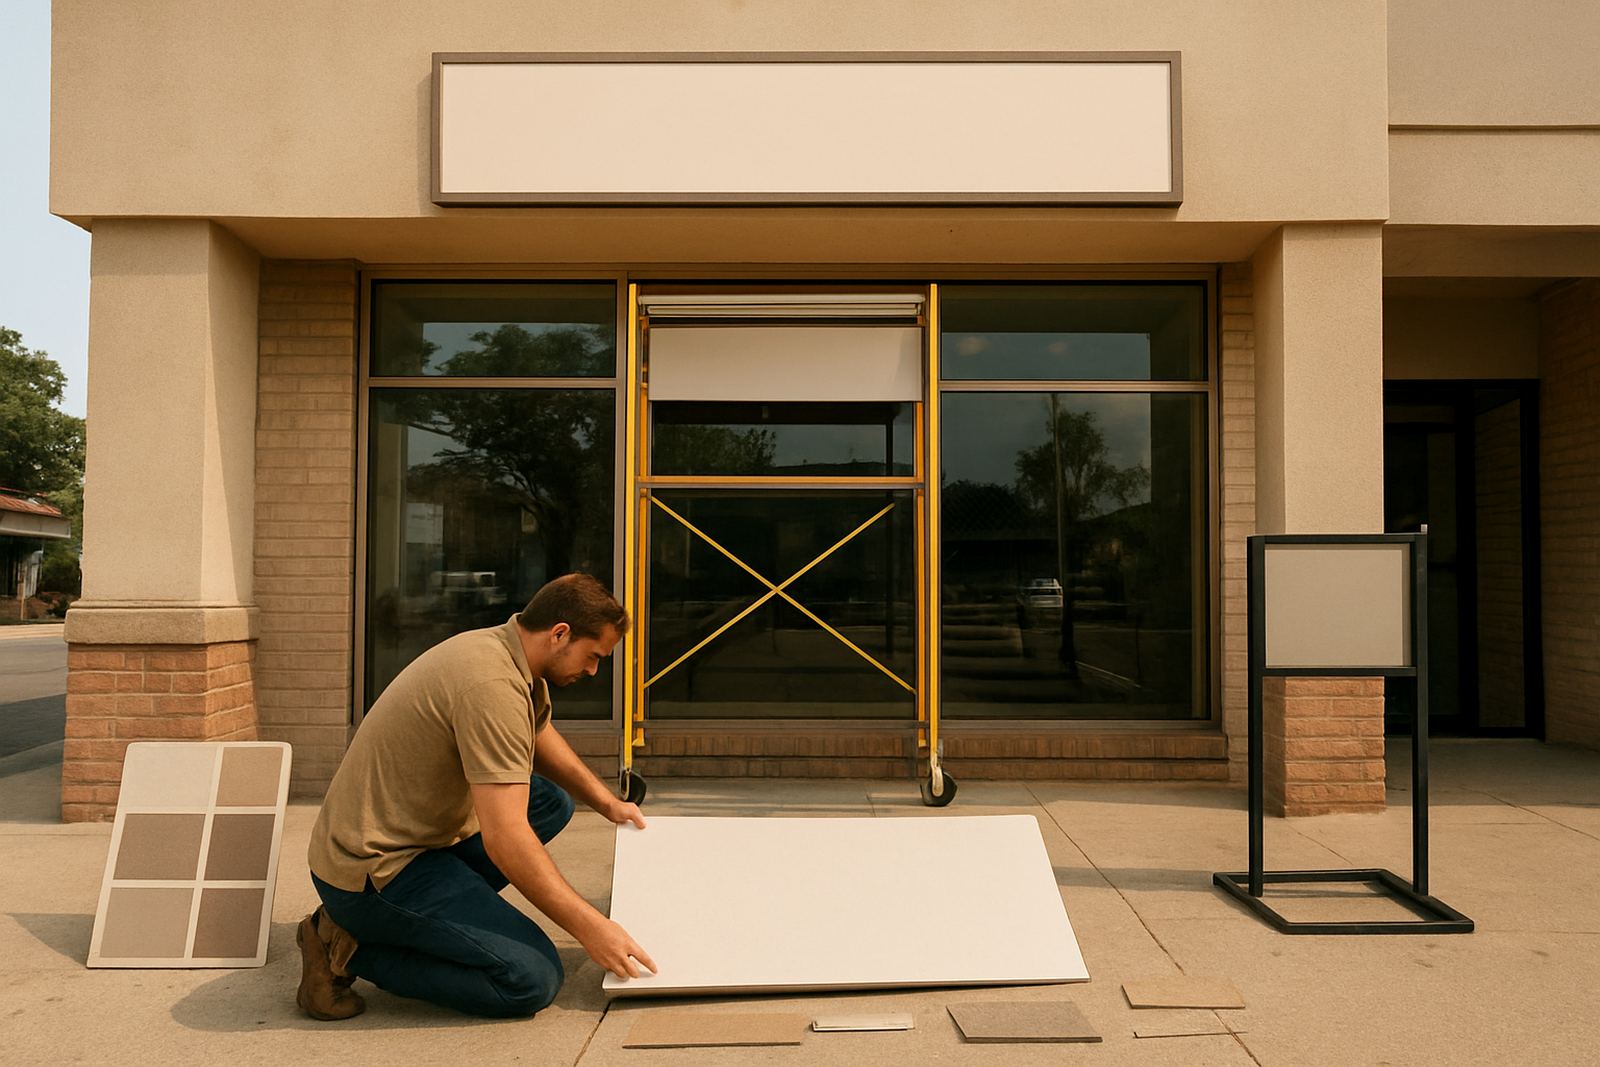
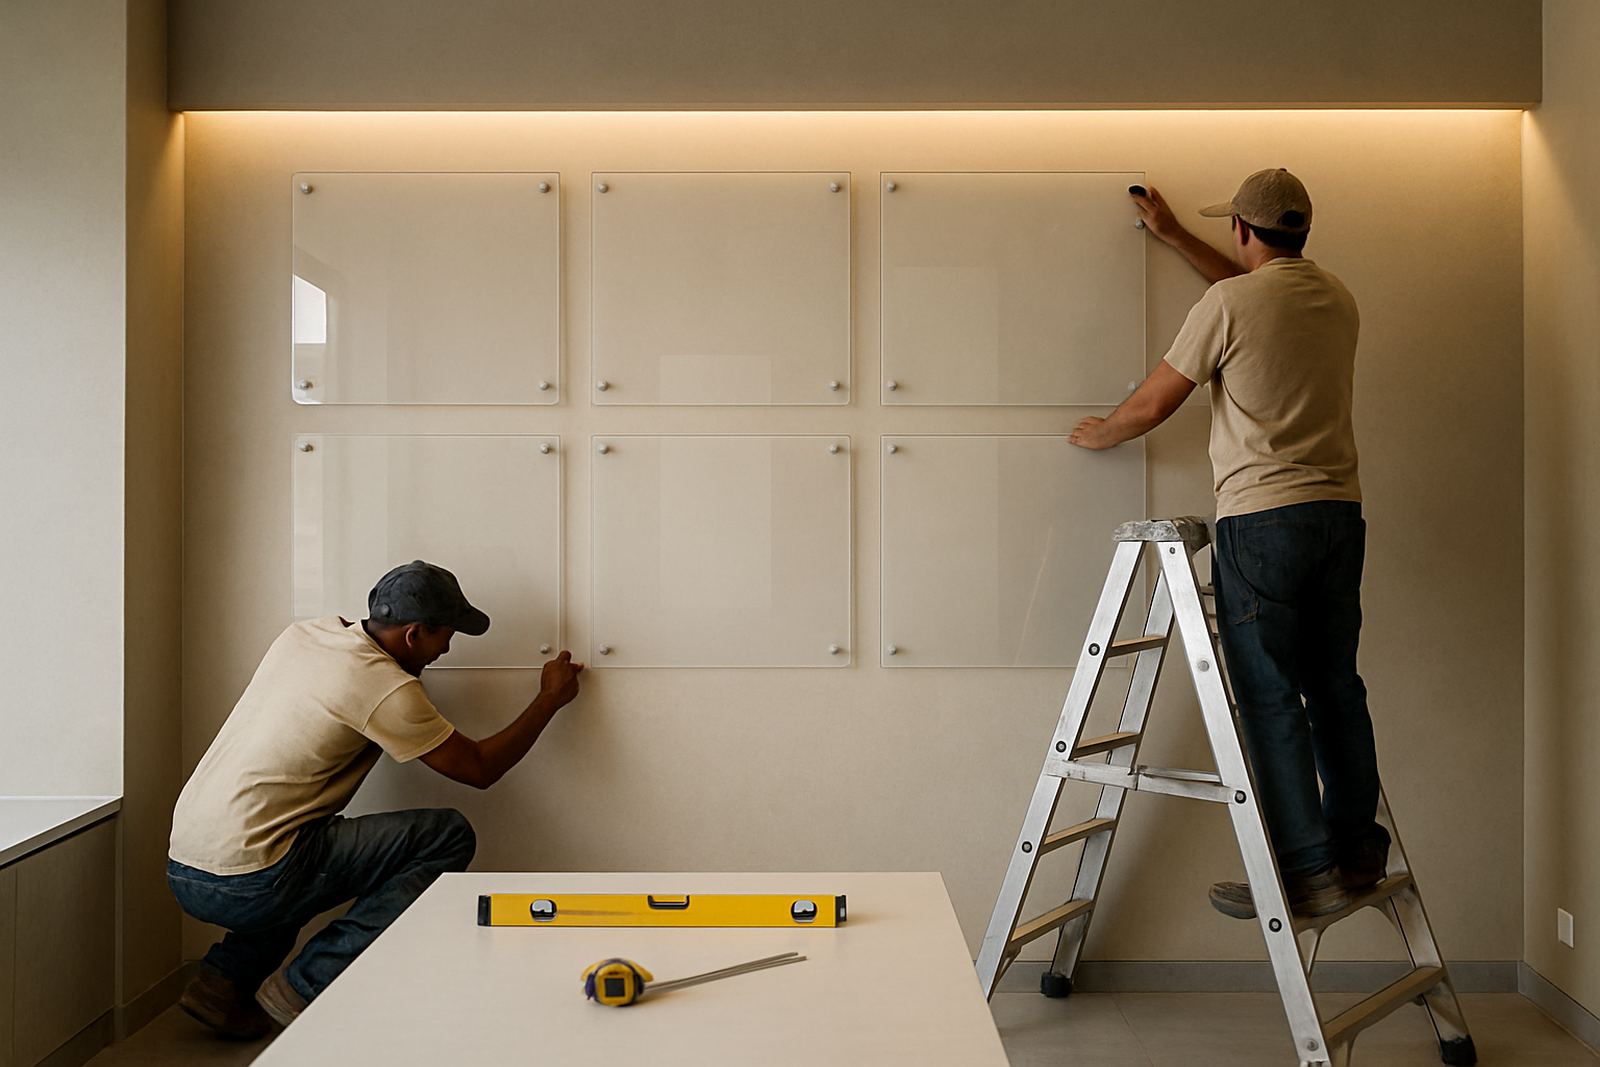
Placement affects whether people actually see the sign at the point where they need guidance. A safety notice hidden behind a roller door or mounted too low is often missed. The best time to check placement is during a site survey, before artwork is finalised and before drilling starts.
Walk the approach route and stand where a driver, pedestrian or visitor would stand. Check the angle, height, background colour and possible obstructions such as shelving, poles, trees or parked vehicles. If the sign will be used at night, test the area after dark or during load-shedding conditions where practical.
- Mount signs at a visible height and angle
- Keep them clear of doors, stock and moving equipment
- Allow enough space for emergency route signs to be seen from a distance
- Use the same naming on all related signs, such as gate numbers or exit points
- Confirm that temporary signs do not block permanent safety instructions
On bigger sites in Tshwane, Centurion or Rosslyn, good placement can also reduce confusion for contractors and delivery teams, which saves time at the gate and in the yard.
Use a Simple Sign Register for Maintenance and Replacement
Safety signs need checking just like other site equipment. Once a sign is chipped, faded, bent or covered by new stock, it stops doing its job. A basic register helps you keep track of what was installed, where it sits and when it was last inspected.
Assign one person to notice changes after renovations, new machinery, route changes or branding updates. If the site layout changes, update the sign list as part of the project, not months later when somebody spots a missing warning.
- Record the sign location and purpose
- Note the material and mounting method
- Inspect for fading, peeling or damage
- Replace signs that are no longer relevant
- Keep temporary notices separate from permanent ones
For busy retail rollouts and municipal work, this approach keeps signage consistent across more than one branch or depot. It also helps you avoid mixed messages where old and new instructions appear side by side.
What To Gather Before You Ask for a Safety Sign Quote
The more detail you provide, the easier it is to get the right safety signs first time. You do not need to know every technical detail, but you should share the site conditions, the hazards involved and the number of signs needed. If the work includes permits or public-facing installation, mention that early so the process can be planned properly.
Before you send an enquiry, gather the basics below. This helps with design, pricing and timing, especially if the job covers multiple branches in Pretoria, Hartbeespoort, Akasia or Soshanguve.
- Site address and contact person
- Photos of the area where signs will go
- List of hazards, instructions or routes to be marked
- Approximate sizes and quantities
- Need for reflective, indoor or outdoor finishes
- Any deadlines linked to an inspection, opening or rollout
Clear information at the start means fewer changes later. It also makes it easier to match the sign format to the site, whether the need is for one entrance notice or a full safety package across several areas.