
Start with the event space and viewing points
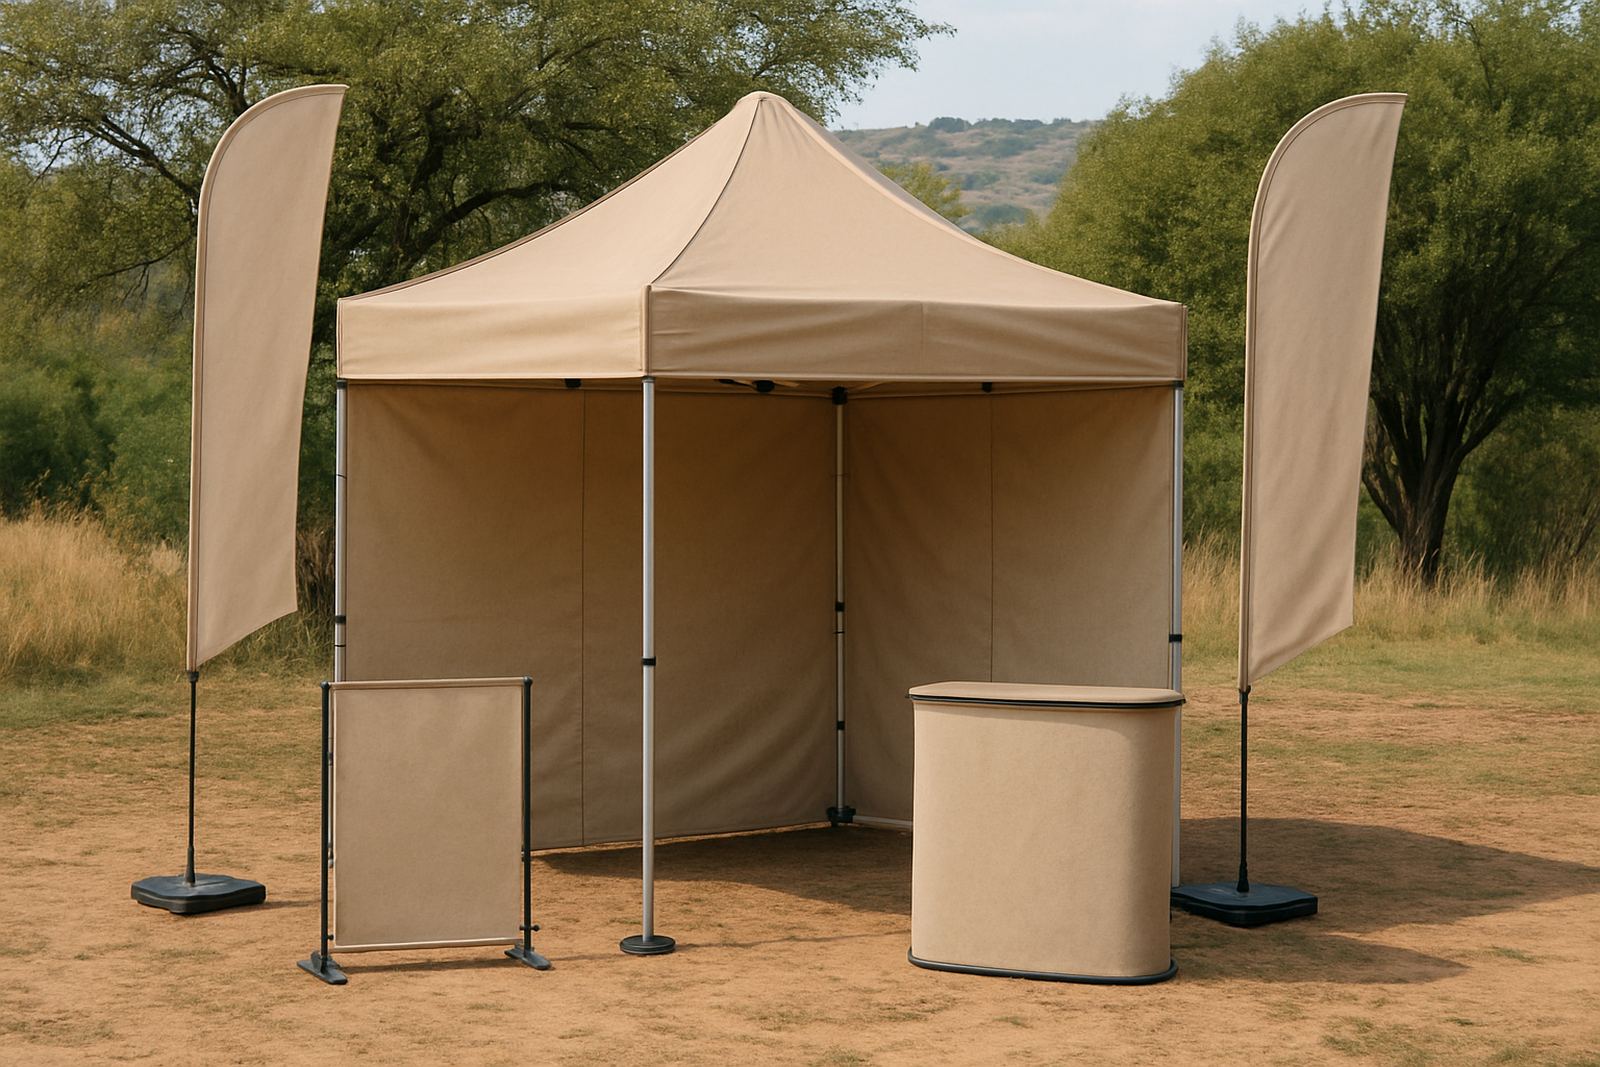
The best temporary event branding is built around the few items that do the heaviest work. That usually means the large sign that identifies the stand, the counter or table branding, and any back wall graphics that carry the message. From there, you can add smaller pieces for product information, directions and giveaways.
For retailers, brands and municipalities, the usual mix includes printed boards, vinyl graphics, pull-up style displays, branded counters, directional signs and branded barriers. In busy events, one clear logo and one short message often work better than too much text. Keep the fonts readable from several metres away and make sure colours still stand out under bright lighting or under shade cloth.
- Stand header or fascia sign
- Back wall or feature panel
- Counter or table branding
- Directional arrows and queue markers
- Product information panels or price boards
- Branded bags, handouts or giveaway items
Prepare artwork for fast reading and clean print
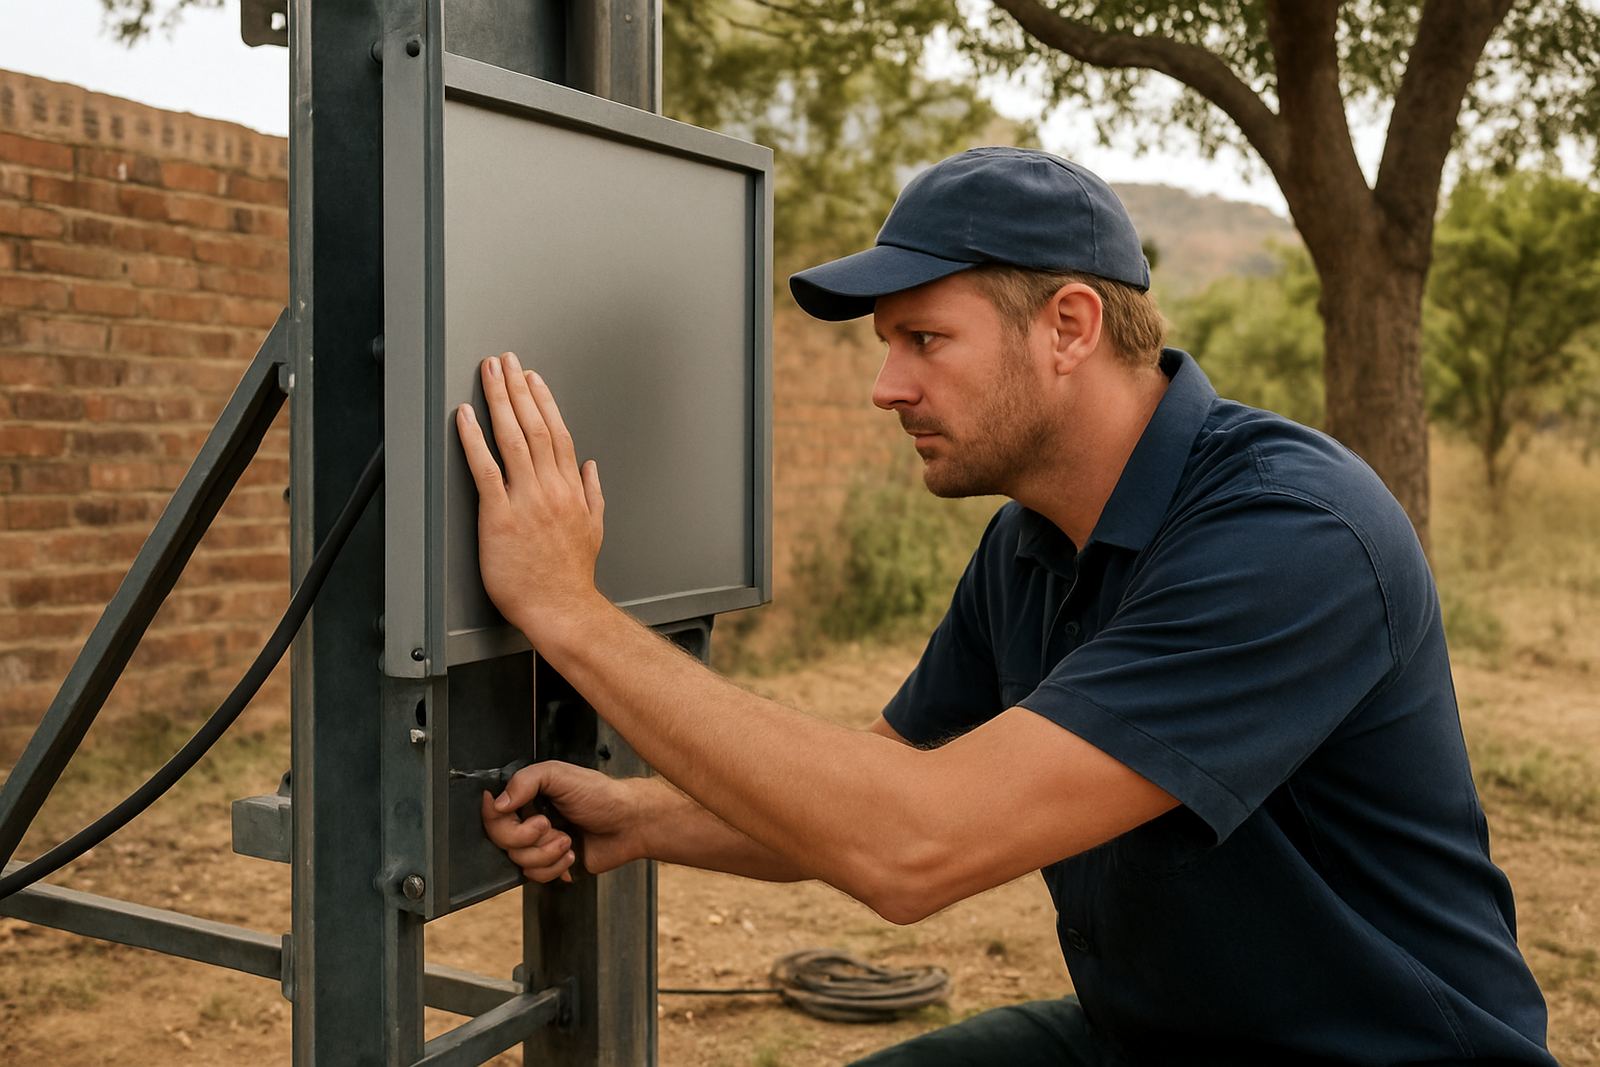
Temporary event branding should not depend on luck. If the setup will be used in the North West or across Gauteng during a windy week, the fixings matter as much as the printed face. Outdoor branding may need weighted bases, cable ties, brackets, clamps or ground anchors. Indoor setups may need non-marking adhesive, hook and loop strips or frame systems that can be put up and taken down quickly.
Humidity near Hartbeespoort, dust at open-air markets and repeated loading during campaign rollouts can all affect the life of a sign. Choose materials that suit the job, not just the budget. For a short event, a lightweight board may be enough. For a multi-day expo or a touring activation across Pretoria, Brits and Centurion, a stronger frame and a tougher print face can save time and rework.
- Frame or support structure suitable for the venue
- Weighted base or ground fixing for outdoor use
- Indoor mounting method that will not damage floors or walls
- Material choice for sun, rain, dust or humidity
- Plan for pack-down and re-use after the event
Include wayfinding, safety and permit items
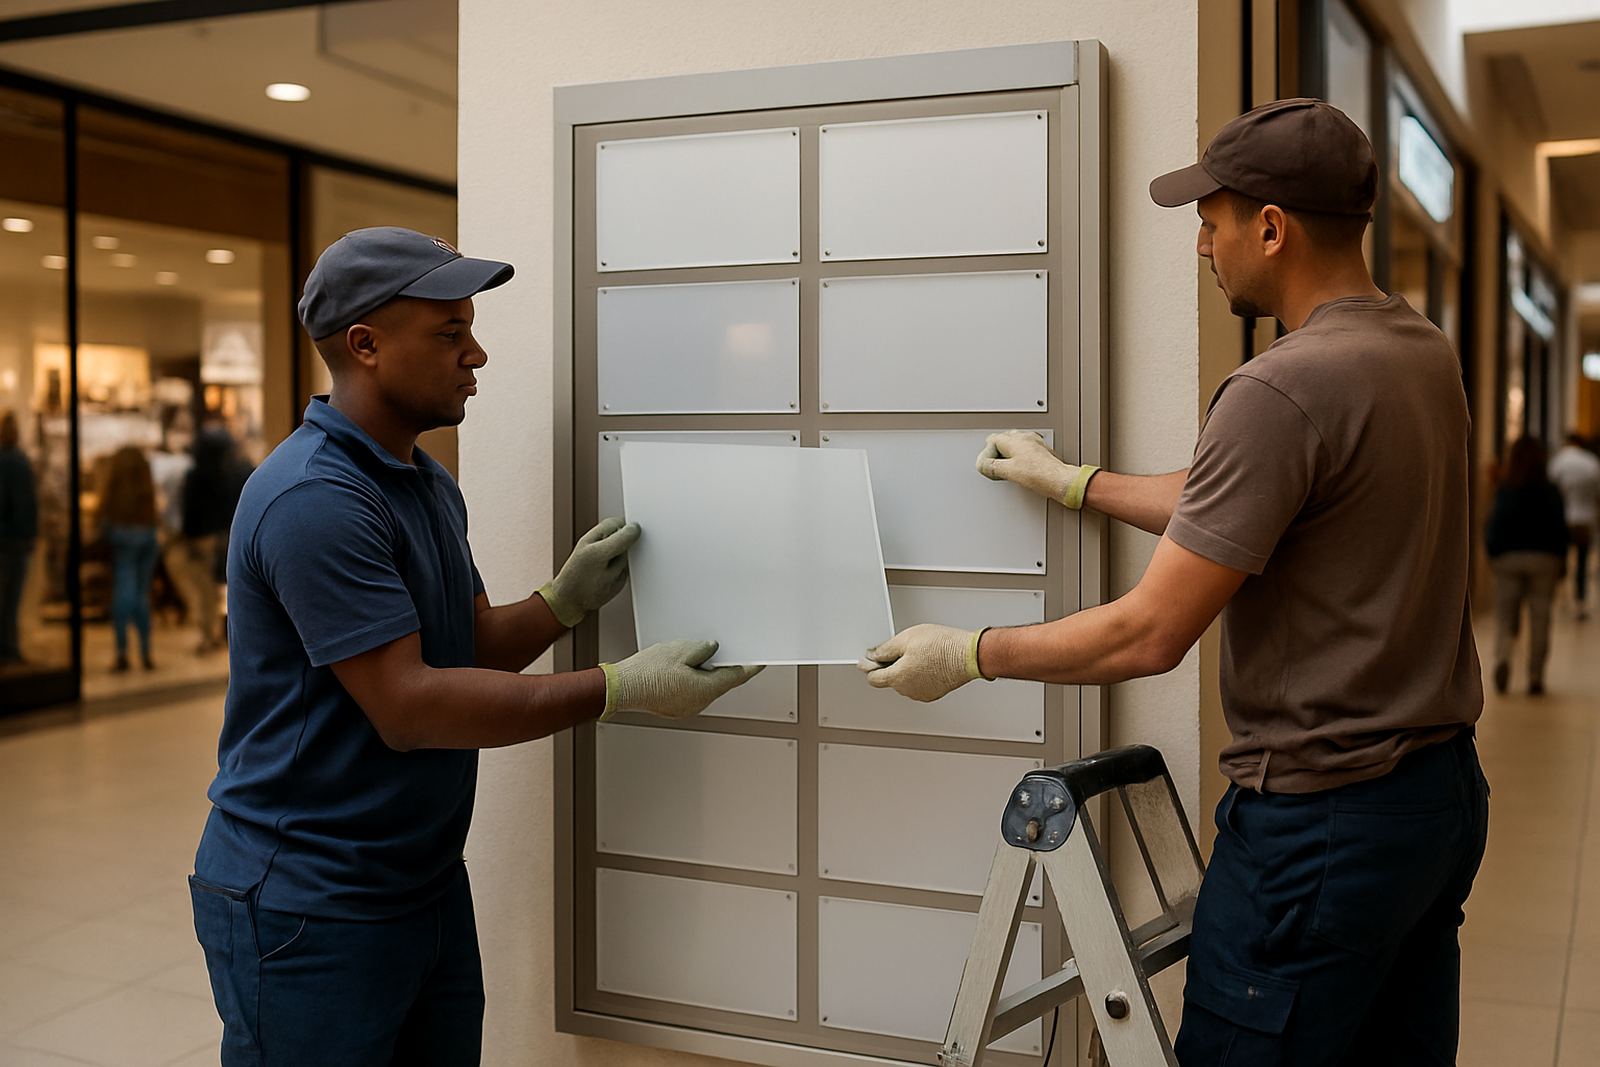
An event branding checklist is not complete until the installation and pack-down plan is clear. The team needs to know what goes in first, what can be fitted on site, and what must be delivered pre-assembled. This matters even more when the setup includes vehicle wrap fitting, large panels or repeated campaign rollouts across several towns.
It helps to assign who signs off the proof, who receives the stock, and who checks that everything arrives on time. Lerato Mthembu in operations, Riaan Odendaal in production, Kagiso Ndlovu on installation and Revasha Desai on client services all play a part in keeping the process orderly from the first measure-up to final pack-down. Once the event is over, some items can be stored for the next activation, while others may need refurbishment before the next run.
- Delivery times and site access arrangements
- Who approves the final artwork and layout
- Who is on site for installation and removal
- Storage plan for reusable branding items
- Refurbishment or maintenance needs after the event
A practical local example for Tshwane events
Picture a two-day product launch at a venue in Pretoria with a small outdoor entrance and a covered indoor display area. The organiser wants the brand visible from the parking area, but the wind picks up in the afternoon and the access gate is shared with other exhibitors. In that case, the checklist would start with one large entrance sign, two directional boards, a branded counter, a back wall graphic and a few safety markers for the queue.
Because the site is partly open, the outdoor pieces would need stronger fixings and the print finish should handle sun and a bit of dust. The indoor items can focus on clean product messaging and photo points. When that balance is right, the event looks organised from the first guest to the last handout, and the brand gets seen without making the space feel crowded.
That is the real value of a proper checklist: fewer surprises, cleaner setup and less scrambling on event day. For retailers, brands and municipalities working across Pretoria, Centurion, Brits, Hartbeespoort and wider Gauteng, a simple plan at the start usually saves time right through the final pack-down.